
Step 1: Purchase a loaf of challah bread. Or make your own.
Step 2: Cut challah into thick slices, about 1.5 inches. Cut these slices in half as if you were making a sandwich.

Step 3: Carefully cut slits into the front "face" of the bread. Thicker slices will make this easier. Do not allow the slit to cut through to the edges. This is the hardest part of this recipe, which is why I delegated the task to A- her knife skills far surpass my own.
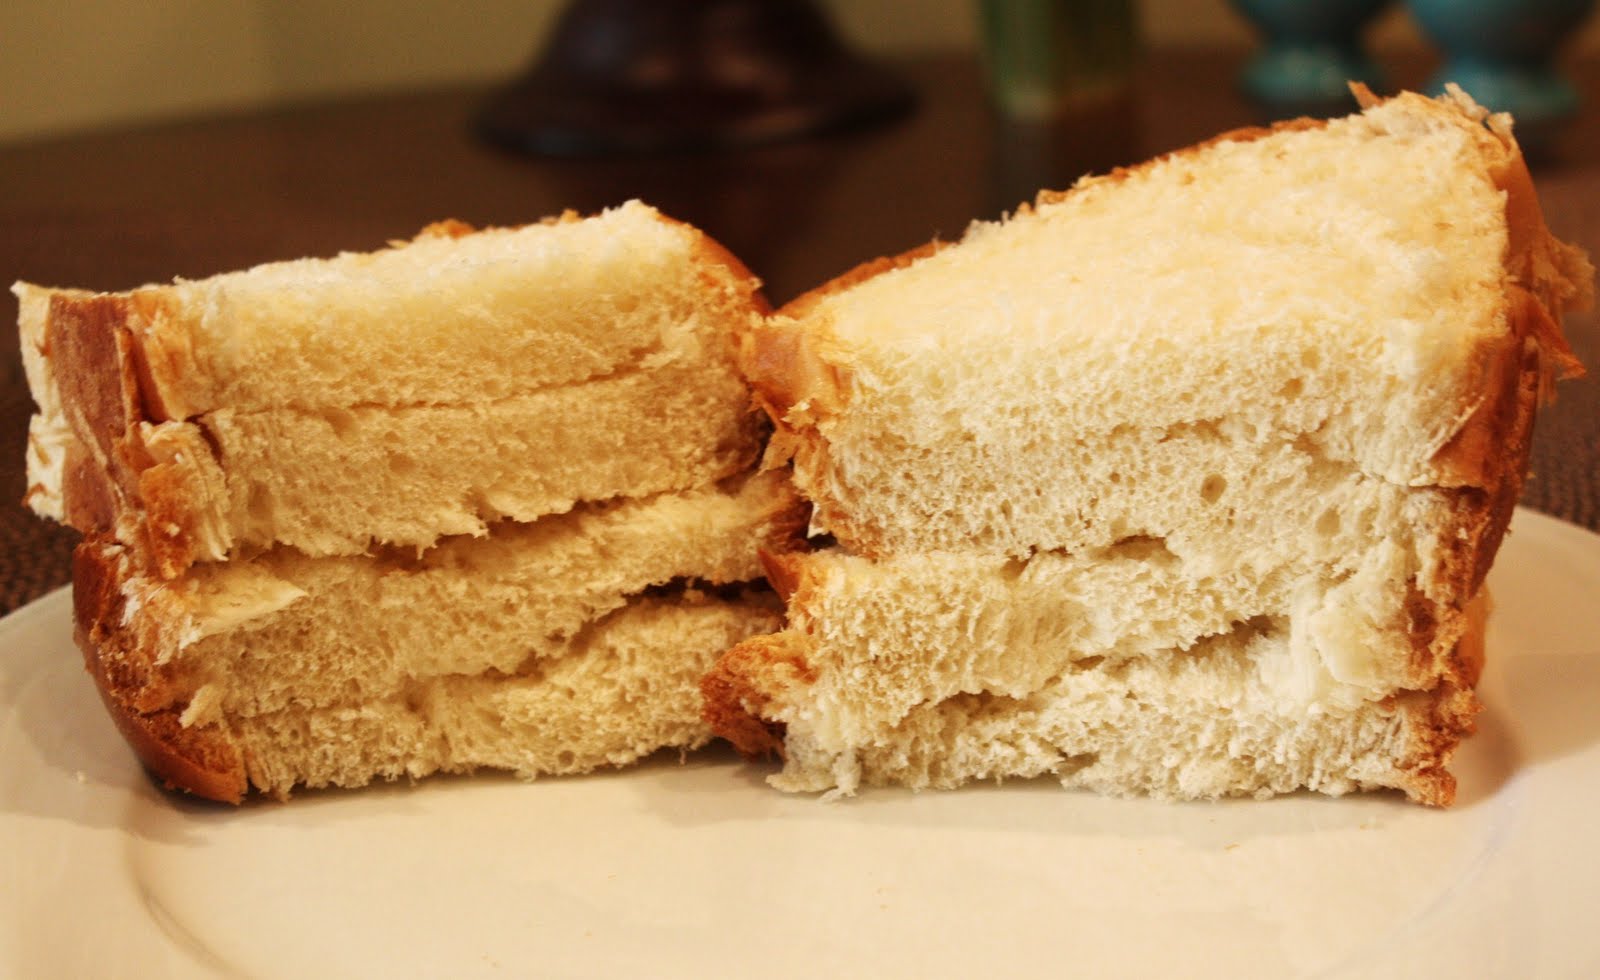
Step 4: Prepare your stuffing ingredients. We went with Trader Joe's peanut butter cream cheese and sliced banana. Get creative: chopped nuts, fruit of any kind, jam, peanut butter, Nutella- the possibilities are endless. I would definitely suggest one component that will "melt"- the cream cheese in our case.

Step 5: Place your ingredients into the "mouth" of your carefully sliced open bread. The softness of the fresh challah made this a little difficult; I definitely ripped one entirely into two pieces. I employed a little trick of "whipping" a dollop of cream cheese with my butterknife a few times to soften it up before spreading it. This doesn't have to be exact either- it will spread out during the cooking process. I used about a tablespoon of cream cheese and 3 to 4 pieces of banana in each half slice of bread.

Step 6: Prepare shallow bowl as a "dipping station" for the French Toast component.
Whisk together the following (for two servings- 6 half-slices - scale as necessary):
2 eggs
2 egg whites
1/2 cup milk
1 tsp vanilla extract
Gently but quickly dip a piece of bread into the egg mixture. The bread absorbs liquid very quickly and you don't want it to be super soggy. Plus, if you let it sit too long, you'll probably run out of liquid for the last few slices.

Step 7: As soon as the bread is dipped, place it onto a preheated waffle iron. Ours is pretty small, but we squished two pieces in to speed up the process. We used the iron's preset timer to determine when the "waffles" were cooked through.

Step 8: Plate and add toppings. I sprinkled mine with a few sliced almonds and considered maple syrup, but it didn't need it. Seriously, these are even better than you might imagine. The slightly sweet bread soaked in egg gets an evenly cooked crispness from the waffle iron, as well as textural interest with the waffle "holes." The inside is a melty, gooey delicious mess of peanut butter and banana but with an added creaminess from the cream cheese.

Step 9: Consume. Slowly. These are meant to be savored.
yum yum yum! I want to get on an airplane today so you can make me these :)
ReplyDeleteThis...looks...AMAZING!
ReplyDeleteI cannot imagine a more perfect breakfast food.
I just found your blog and love it, I can't wait to see what's next!
They're so easy too-- you girls should both make them yourself! Glad you enjoy it!
ReplyDelete