
The idea is to use the super hot temperatures of the grill to recreate a pizza oven- conventional ovens don't get nearly hot enough to make a good pizza. Since grilling a pizza involves several components- dough, toppings, and grill to name a few, I offered to make the dough for the weekend pizza grilling extravaganza. Although I do have some experience with making various types of bread, I know the flour to water ratio is crucial to developing the right type of dough for your desired end product. Thankfully another friend chimed in with the link to another great food blog post detailing the nitty gritty specifics on how to make the perfect grilled pizza, complete with dough recipe.
The recipe calls for an overnight "proofing"- which essentially just means the initial rise occurs overnight in the refrigerator. This actually makes the dough making a little less hectic, since it occurs the night before. When I first started mixing the dough it seemed a little on the dry side, as mixing by hand typically does. However, I continued to knead the ingredients together and ended up with a really sticky dough. I resisted the urge to add more flour, and by the end of the ten minute knead period had a workable if not slightly sticky ball of dough. Trust your recipe. Cover and refrigerate overnight.
 Looking a little dry...
 Kneaded through the sticky stage.
Checking late the next afternoon revealed a bowl o' dough. I pulled it out and partioned it into ten pieces (I multiplied the initial four-serving recipe by 2.5), letting each seemingly small chunk rise again in greased bowls- make sure you give them a little space to expand. Since the dough was starting out chilled, I gave them a good hour and a half to do their thing before gently layering them in a bowl between pieces of Press 'N Seal (parchment would work too) to tote to the pizza party.


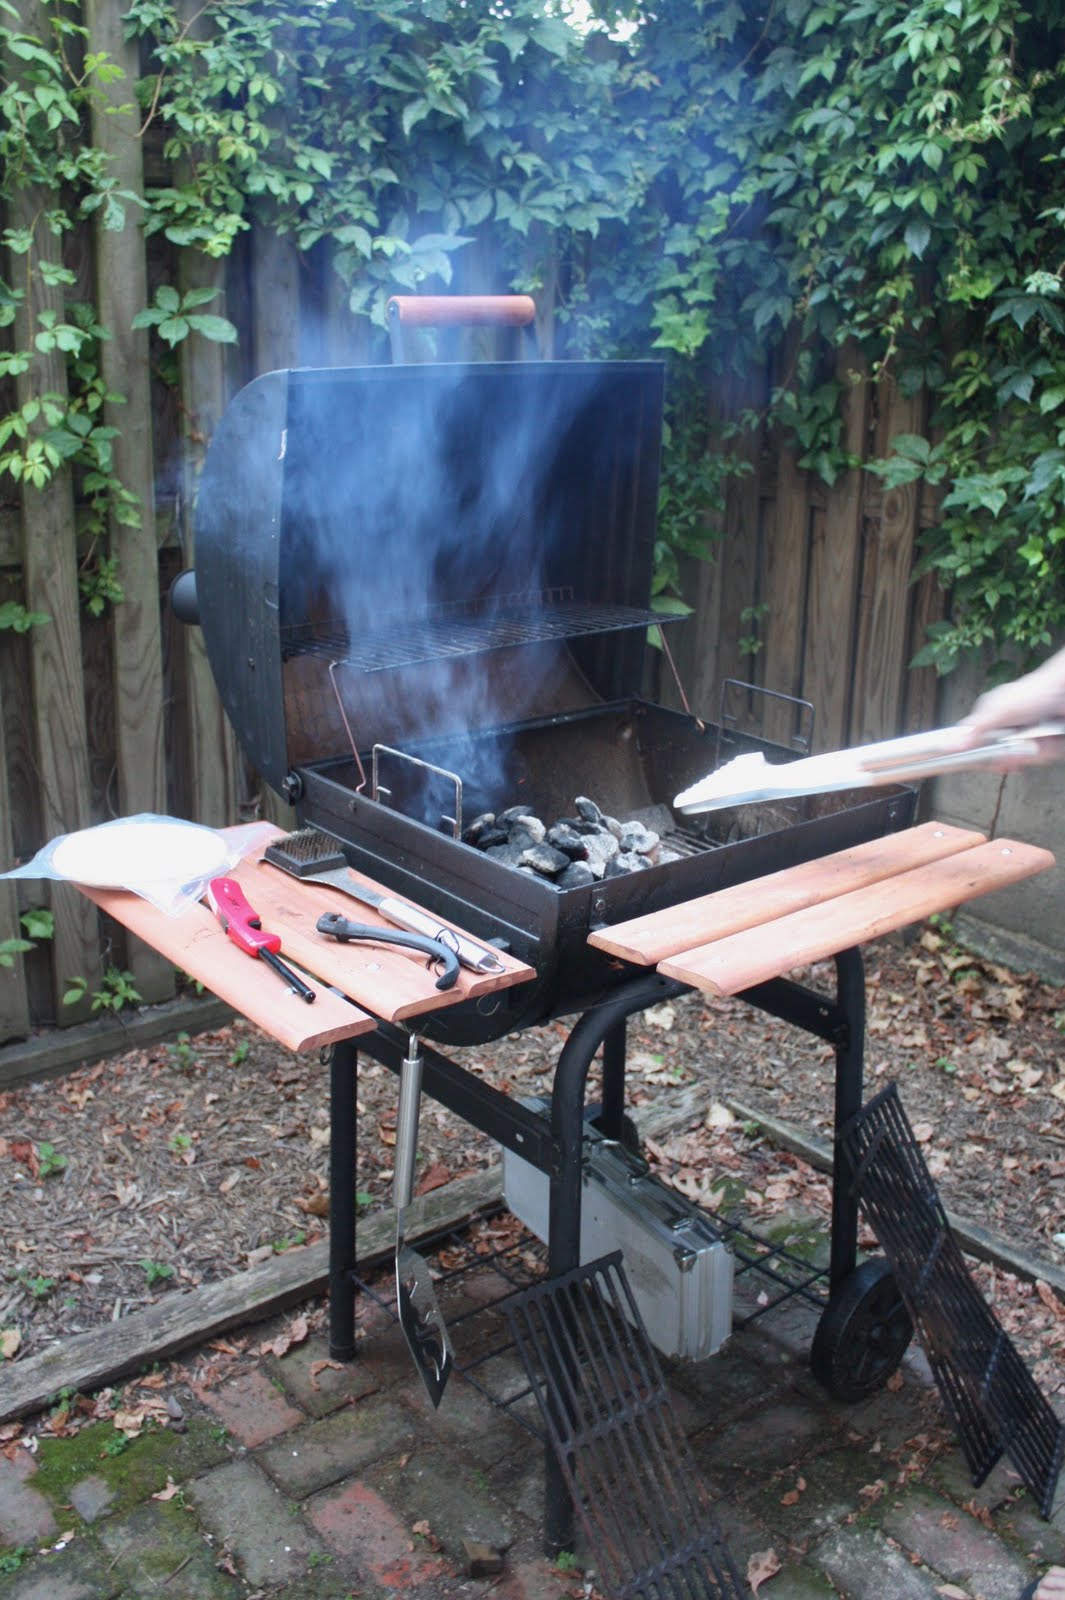
The resident grillmaster started up the coals while our hostess prepped all of the toppings, of which the options are endless. We grilled some of the veggies before starting on the pizzas- asparagus, zucchini, and red pepper. We also somewhat unsuccessfully grilled bacon- keep this away from the flames! A skillet designed for the grill was utilized, with the bacon grease kept up high on the grill "shelf." We also had chopped jalapenos, onions, pepperoni, sliced tomato, sundried tomato (highly recommended) and some canned artichokes. Pizza sauce and shredded mozzarella completed the spread.

Since the actual pizza cooking time is incredibly brief, make sure all toppings are prepped in advance.

Step 1: Spread a chunk of pizza dough to desired thickness on an oiled cutting board. Brush with olive oil. Bonus points for artistic shapes.

Step 2: Pick the dough up with your hands (like you're picking up a tray) and place dough oiled side down on the grill directly over heat. I learned quickly that you should leave a little "spread" for the transfer- it stretches out a bit when you pick it up.

Step 3: Brush top with oil. Wait 2 minutes or until a spatula easily slides under the crust.
Step 4: Using the spatula, transfer half-baked crust back to the cutting board, raw side DOWN. This provides a cooked surface on which to place your toppings.

Step 5: Quickly spread your sauce, add toppings and cheese. It helps to have a game plan ready with regards to toppings so that the cooking process is somewhat continuous.

Step 6: Transfer back to the grill. At this point it can be away from the heat source, and the lid can be closed to help with cheese melting. Depending on how close you are to the heat will determine how long you should keep it on- anywhere from 1 to 5 minutes.

The toppings are barely getting warm here, so don't put on anything you don't want to eat raw. I think the chopped jalapenos got to at least a few of us... The great thing about this is that the pizzas are totally personalizable- you can have as few or as many toppings as you'd like, crust as thin or thick as you'd like, as much or as little char, etc. There were some impressive pizza masterpieces! Once we got the hang of the dough on/dough off process it was super simple (it might be good to have an extra chunk or two as sacrificial practice dough) and the finished products were oh-so-delicious. Piping hot, with that hard to perfect crispiness AND a good deal of fluffy crust. A great summer weekend project... that you get to eat!

Grilling is the #1 thing I miss about living in the Suburbs :( We always grilled pizza and it's SO good!!
ReplyDeleteyup grilled pizza is our specialty :) we love it. cannot wait to move out of this tiny apartment and get a grill. first on the menu...grilled pizza :)
ReplyDeleteOnion jam, pears, and blue cheese is my favorite combo for grilled pizza. Must do as soon as is cools a bit! And, I always cheat and use Trader Joe's pre-made pizza dough.
ReplyDelete