
I used this recipe to get a handle on the basics, but of course used my baker's creative license.
Rustic Pear Tartlets
Makes 4-5 3" Tarts, or 1 9" Tart
For the crust:
3/4 c. whole wheat flour
3/4 c. all-purpose flour
1/2 tsp. salt
1/2 tsp. cinnamon
1/2 tsp. ground ginger
4 Tbsp. cold butter
7 Tbsp. milk
Start the dough for the crust before you worry about the pears themselves-- this is the part that will take the longest. First, combine the first five ingredients in a small bowl. Use of heart shaped measuring spoons highly recommended.
 (Side note: We just acquired a DSLR camera, so we're.. learning.)
Cut the cold butter into small cubes and work into the flour with your hands/two butter knives/food processor. Once well incorporated, add the milk and stir until the dough comes together- you'll probably have to knead some of that flour in with your hands. Add another splash of milk if it seems too dry. Refrigerate the ball of dough while you proceed with the filling.

For the filling you will need:
3 ripe pears
3 Tbsp. sugar
1 Tbsp. brown sugar
1/2 tsp. cinnamon
1/2 tsp. ground ginger
1 Tbsp. almond extract
1.5 Tbsp. lemon juice
1 Tbsp. butter
1 tsp. cornstarch
First, peel, core, and dice your pears. Combine with the next six ingredients (through lemon juice) and mix well.

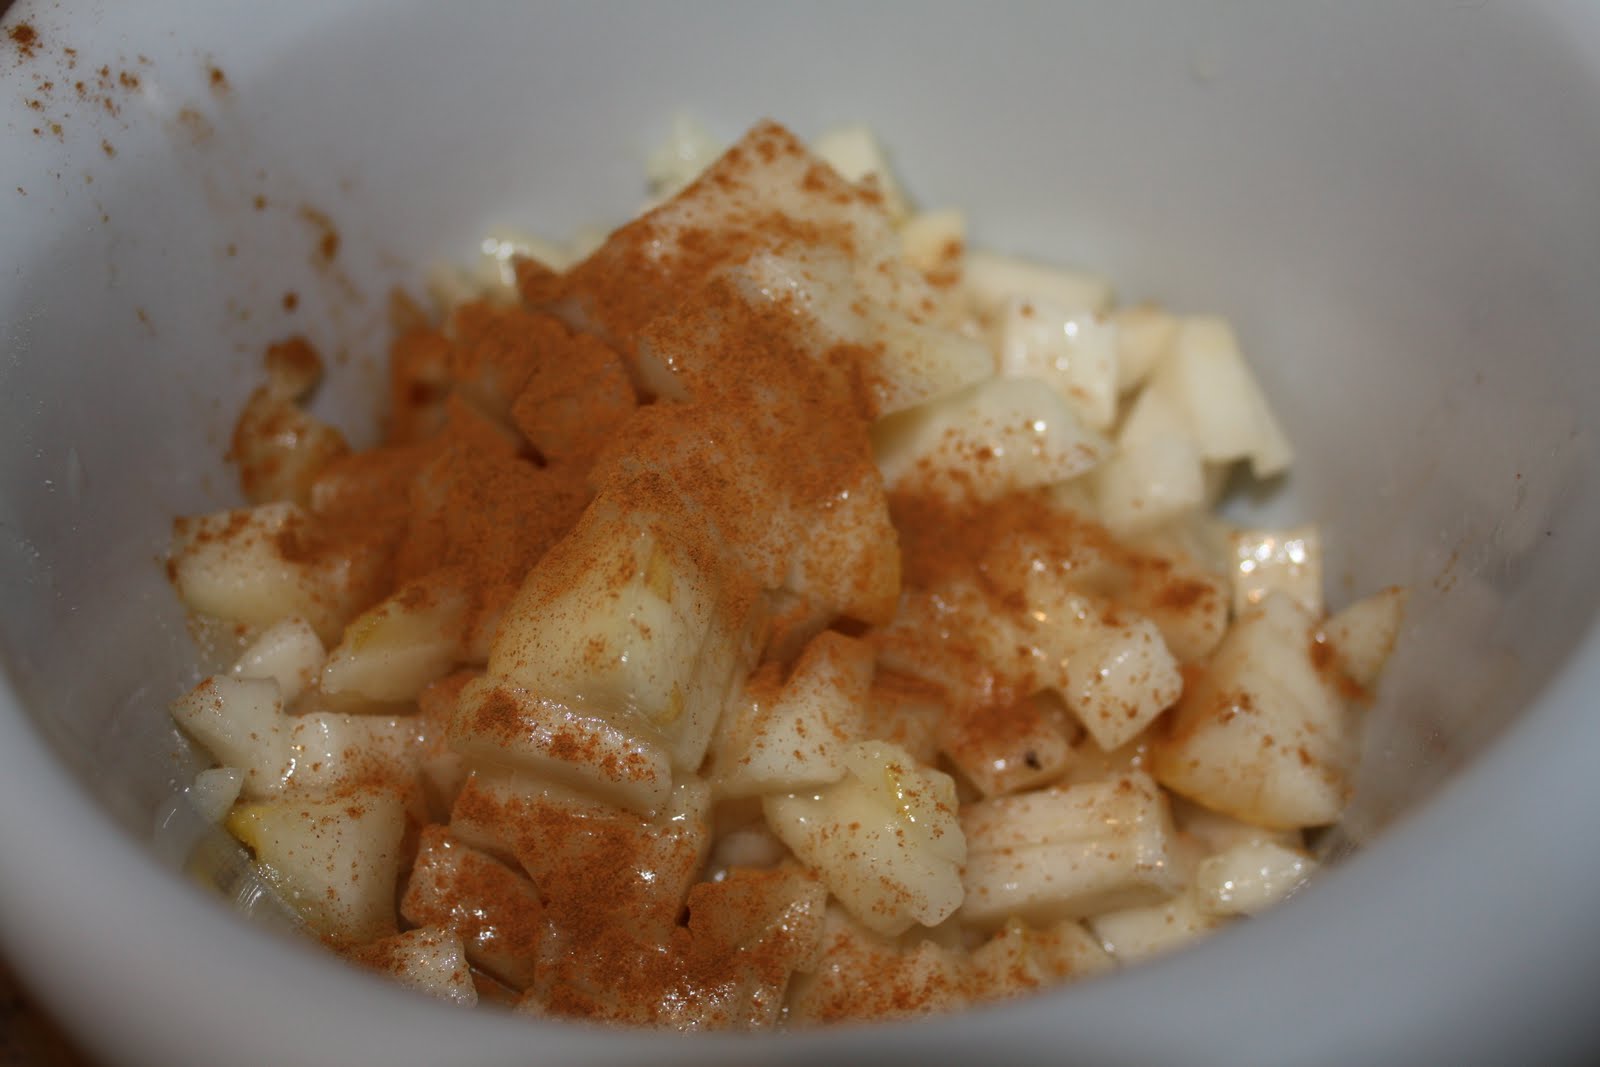
Melt the butter over medium-heat (any skillet or saucepan will do). Add the pear mixture and gently simmer and stir until the sugars have caramelized and the pears have reached a chunky apple-sauce like consistency (should take 8-10 minutes).
 Before
 After
AfterOnce the pears have softened, the sauce needs to be thickened so that you don't end up with soggy tarts. I simply sprinkled cornstarch from the box right over the mix- about a teaspoon total. However, I'd highly recommend passing the cornstarch through a sieve before adding it to the pan; once it hits the liquid, any clumps are difficult to disperse. Give it a stir and continue simmering for 1-2 minutes; if the sauce isn't thickening, add another 1/2 teaspoon. Remove from heat.
At this point, if your dough has been in the refrigerator for half an hour, it will be ready for the next step. Heat your oven to 375 degrees. Remove dough from the fridge and prepare a spot to roll it out- either a lightly floured counter or a Silpat will work. The ultimate thickness of your dough depends on your own preference and how many tartlets you would like to make- I produced four small tarts but had a good chunk of dough leftover, so easily could have rolled it thinner to make five or even six tarts. Use your tart pan to mark an approximate perimeter and cut a circle about an inch around that. If you don't have mini-tart pans, you could use a large tart pan or even a pie plate.

Carefully move the circle of dough into the buttered tart pan, pressing into the bottom and sides. Continue with the remaining dough, re-rolling if necessary. Nothing has to be perfect here-- remember, we're going for "rustic." Prick the bottom layer with a fork multiple times to prevent bubbling during baking and place on a baking sheet.

Bake for 8-10 minutes; enough to firm up the crust but not to the point of browning. Remove from the oven and spoon your prepared pear mixture into the crusts. You could also make a streusel topping or add an additional layer of pastry to produce more of a mini-pie, but I rolled with the simple version.

Bake for an additional 8-10 minutes, until the pear mixture is bubbling and the crust is lightly browned. These are best served warm- I made them in advance and re-warmed them in the oven for five minutes before serving. These share many traits with apple pie- same spicy aroma and comforting appearance, but the pear flavor is quite pronounced. The soft, buttery shell is a perfect edible container for the filling. These would be great for a dinner party (easy to make ahead of time) and they have a touch of sophistication with very little effort. It would also be simple to modify with whatever over-ripe fruit you find yourself with- strawberries, cherries, apples, or peaches would all work well with a few slight recipe tweaks.

OMGOSH WHO DREW YOU GUYS/HOW DID YOU DO THAT?
ReplyDeleteLove,
...im obviously slow if you did this a while ago
Yay! You're, strangely (I think), the first person who has commented on our new header design. We've had it up for about a month-- my boyfriend has many talents :) Actually, he used a picture of me and worked some magic in PhotoShop-- pretty awesome though. Thanks for the love!
ReplyDelete- A
HAHAHA leave that up to me. I think Ive been so behind myself in blogging, etc, that I dont always have time to read others either...
ReplyDeleteso i LITERALLY just saw it.
BUT UM...thats awesome. Such a little talented boyfriend.
Miss u.